
- Details
- Category: Homemade Cleaning Products
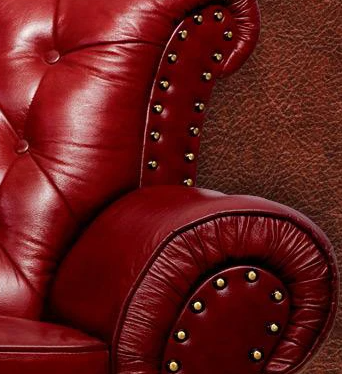 From Salad to Sofa
 For the cleaning of leather furniture, vinegar and olive oil offer many choices. Dab vinegar directly over soiled areas, dry it off; then add a dab of olive oil to a soft cloth to help keep the material soft and supple and buff the leather with it. By mixing equal portions of vinegar and olive oil in a tub, whip up an all-round leather cleaner and whisk them together to blend them together. Dip the mixture with a simple paper towel or soft cloth and then rub it all over the leather. With a fresh paper towel or rag, wipe the furniture down again to remove excess oil.
As Basic as Water and Soap
For leather furniture, a gentle hand or dish soap acts as a general cleaner. In a bowl of warm water, mixed together, a squirt or two of soap cleans away the essential dirt and dust. To remove loose dirt, clean the furniture first; then dip a soft white cloth into the soapy water, wringing out much of the water so that the cloth is moist. This way, rub all the leather down, then wipe it with a damp white soap-free cloth again. Immediately afterwards, buff it dry with another white, fluffy fabric. Use a drop or two of the gentle soap directly onto the damp cloth for a deeply soiled area; then rub the soapy cloth over the stain. Use a damp cloth to clean the leather again; then buff dry.
Solution from Stain-Busting
Right out of the medicine box, rubbing alcohol extracts all kinds of stains from leather furniture. On a damp white cloth, spritz a little rubbing alcohol and blot over mildew to prevent mildew stains. To dab away the dye, add alcohol to a cotton ball. Do not rub ink stains, as the ink can spread—just blot and dab, until the ink is gone, using a fresh area of the cotton ball. To ensure that alcohol is compatible with the leather finish, first test alcohol on an inconspicuous region of the leather.
Hot Cleaning Facilities
A lasting mess on the furniture should not be produced by chewing gum, candle wax or chewy substances such as taffy. In a zippered sandwich bag, put some ice cubes and rest the bag over the problem area for a few minutes. With your finger or the bowl of a plastic spoon, pick away the hardened material; it should pry right up. Reapply the ice bag as many times as needed to remove the problem completely.
- Details
- Category: Homemade Cleaning Products
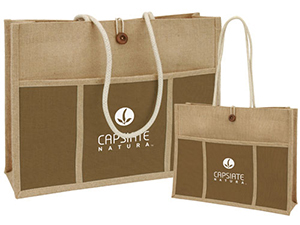
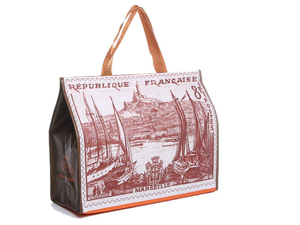
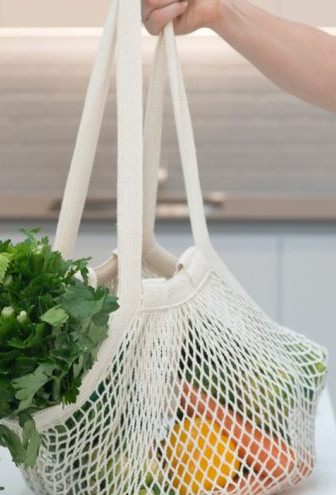
String Bag
What you need:
 One side of a weaving loop (the one envisioned is ~9-inches and functions admirably)
 18-20 wooden garments pegs for a 9" loop (you may require a couple of extra in the event that they split while setting them on the circle)
Hemp, material, or cotton twine or string (approximately 120 yds.)
Scissors
12-inches cotton line/calfskin tie (discretionary)
Place the garments pegs onto the edge of the weaving outline. Spot the pegs approximately one inch separated, and push down solidly ensuring each peg fits firmly.
To start, place a 20-inch last part of the string through the focal point of your edge. (This will be long on the grounds that it will be the handle of your pack.) Wrap the string (from the ball) twice around one of the pegs clockwise. You can wrap the last part of the string around the base of a peg so it doesn't impede you.
You will at that point ignore the base circle the top circle and off the peg. Rehash to the following peg to one side, circling twice and ignoring the base circle the top and off the peg. Rehash for the rest of the pegs until you are back to the primary pin with a solitary circle on it.
To start weaving, you won't circle the string around the peg. Rather, just acquire the string front of the peg with one circle underneath it.
Pass the base circle over the top string and off the peg. Rehash this strategy on all the pegs, turning the loom to one side. You should circumvent the circle commonly to shape the pack. The fiber will extend altogether once off the loom. Weave in the round for 4-6 inches relying upon the size you need your sack. The pack will extend altogether once off the casing.
Once you arrive at your ideal length, you will start to push off. Cast off beginning a similar peg that you started weaving (where you can discover the last part). Cut the string, leaving a 12-inch tail.
Carefully slip the principal circle off the pin and pass the last part through the circle. Rehash for all the circles and pegs.
Pull the last part to secure the base of the sack together. Tie a couple of secure bunches through the contiguous circles and mesh the last part into the pack.
To make a handle, utilize the last part of the string toward the beginning of the pack. Associate it to the contrary side of the sack, weaving it through an accessible circle (or two). Bring the last part back over to where it began and secure a bunch.
If you incline toward a more extensive handle you can utilize additional string to tie a lash onto either side of the pack.
Shape your bag and use it to package small gifts and treasures.